An updated version of this blog post was published.
Google Tag Manager recently made our lives a lot easier with the launch of three new User Engagement triggers. This is the second post in our series on these User Engagement triggers. The first post in the series showed you how to use the YouTube Video Trigger and a future post will feature the Element Visibility trigger. This post will show you how to implement the Scroll Depth Trigger and send scroll events to Google Analytics.
We have previously published a post on how to implement Scroll Tracking in GTM. The new trigger makes this process much simpler and more intuitive. In this post we will show you how to setup the variable and tag required to send scroll events to Google Analytics as well as the Scroll Depth trigger itself.
Step 1: Configuring the Variable
Along with the new Scroll Depth trigger Google Tag Manager has released three new built-in scroll variables. These are Scroll Depth Threshold, Scroll Depth Units and Scroll Direction. You will be configuring just the Scroll Depth Threshold in this tutorial.
- Navigate to the Variables section of Google Tag Manager.
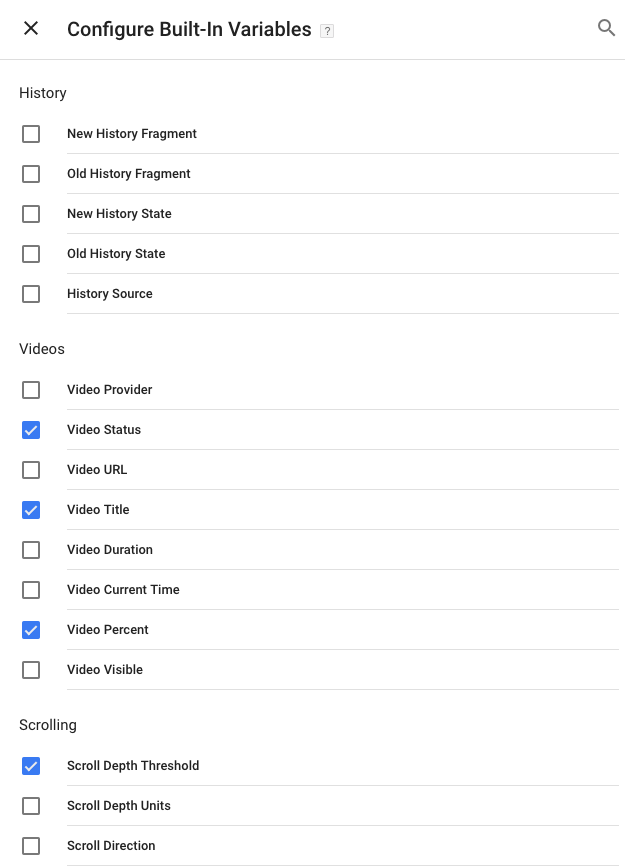
- Under Built-In Variables click on the red Configure button.
- In the menu scroll down to the Scrolling section and check the Scroll Depth Threshold checkbox.
Step 2: Setting up the Trigger
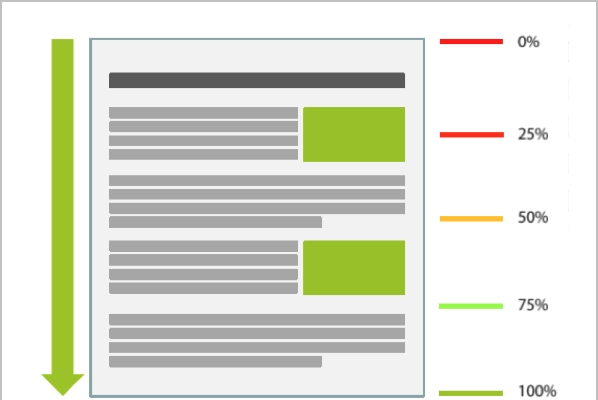
Setting up the Scroll Depth Trigger is a simple process with only a few options that need configuring. We are going to set the trigger up to trigger our tag when a user scrolls through 25%, 50%, 75% and 100% of our page.
- Navigate to the Triggers section of Google Tag Manager.
- Click on the New button to setup a new trigger.
- Name the trigger: Scroll Trigger.
- Click in the Tag Configuration section to select a trigger type.
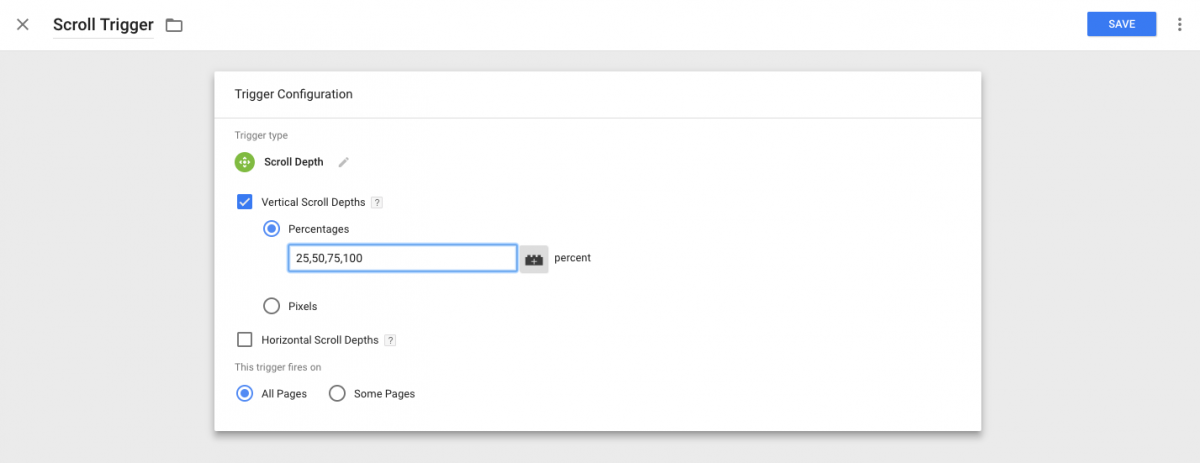
- From the pop up menu select the Scroll Depth trigger in the User Engagement section.
- Check the Vertical Scroll Depths checkbox.
- With the radio button selecting Percentages input the percentage points into the textbox: 25,50,75,100
- At this point the trigger is setup to run on all the website’s pages. If you want this to be for select pages instead – like blog pages or news articles – you can configure this by changing the bottom radio button from All Pages to Some Pages.
- Click Save.
Step 3: The Google Analytics Event Tag
The final step is to setup the Google Analytics event tag that will send our scroll data to Google Analytics.
- Navigate to the Tags section of Google Tag Manager.
- Click on the red New button to create a new tag.
- Click on the Tag Configuration section.
- Select the Universal Analytics Tag Type from the menu.
- Name the tag Scroll Event Tag.
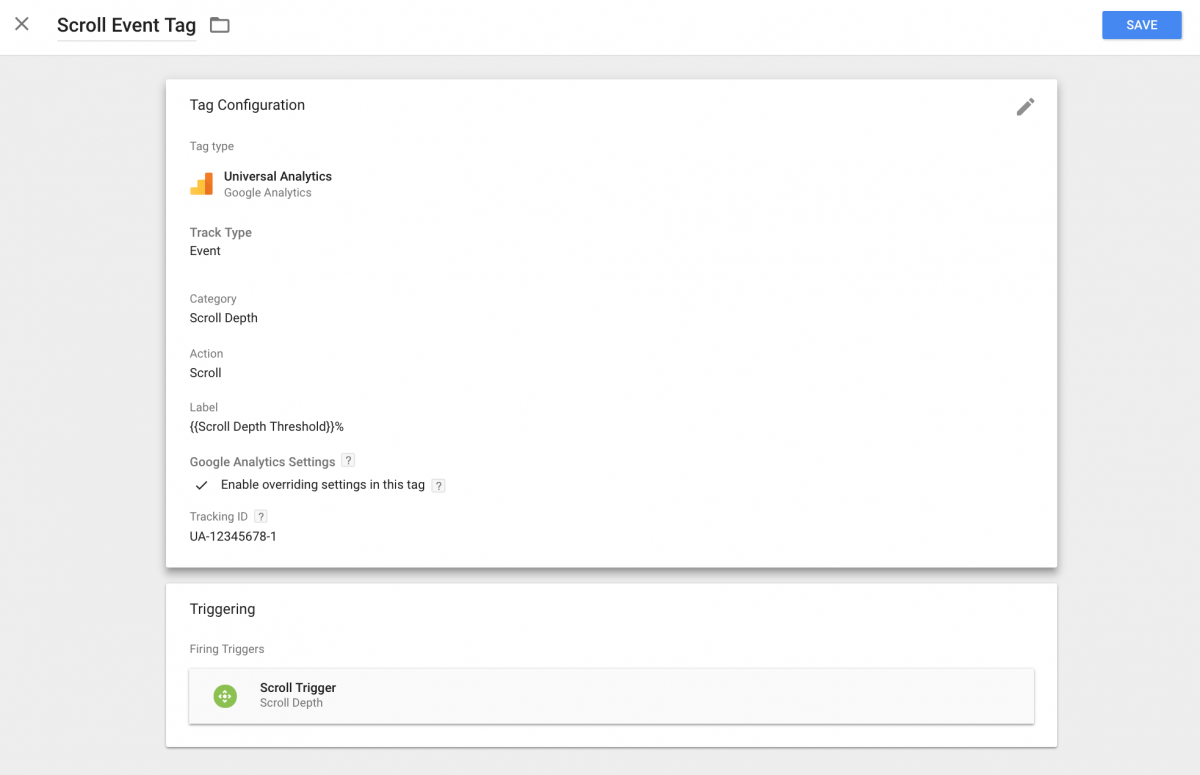
- Change the Track Type to Event in the dropdown menu.
- In the Category textbox input: Scroll Depth.
- In the Action textbox input: Scroll.
- For the Label click on the plus button to the right of the textbox and select the Scroll Depth Threshold variable. Add a % sign after the variable in the textbox as in the image above.
- Select your Google Analytics Settings variable from the Google Analytics Settings dropdown menu or check the override checkbox and input your Universal Analytics ID.
- In the Triggering Section add the Scroll Trigger you created.
- Click Save.
You have now setup scroll tracking on your site using the new Scroll Depth Trigger. Once you publish the new setup events will be sent to Google Analytics every time a user scrolls through 25%, 50%, 75% and 100% of your page.
If you have any questions about the new Scroll Depth Trigger and how to use it then please send me an email.